-
Club Member

-
Club Member
-
Club Member
-
Club Member
-
Club Member
-
Club Member
-
Club Member

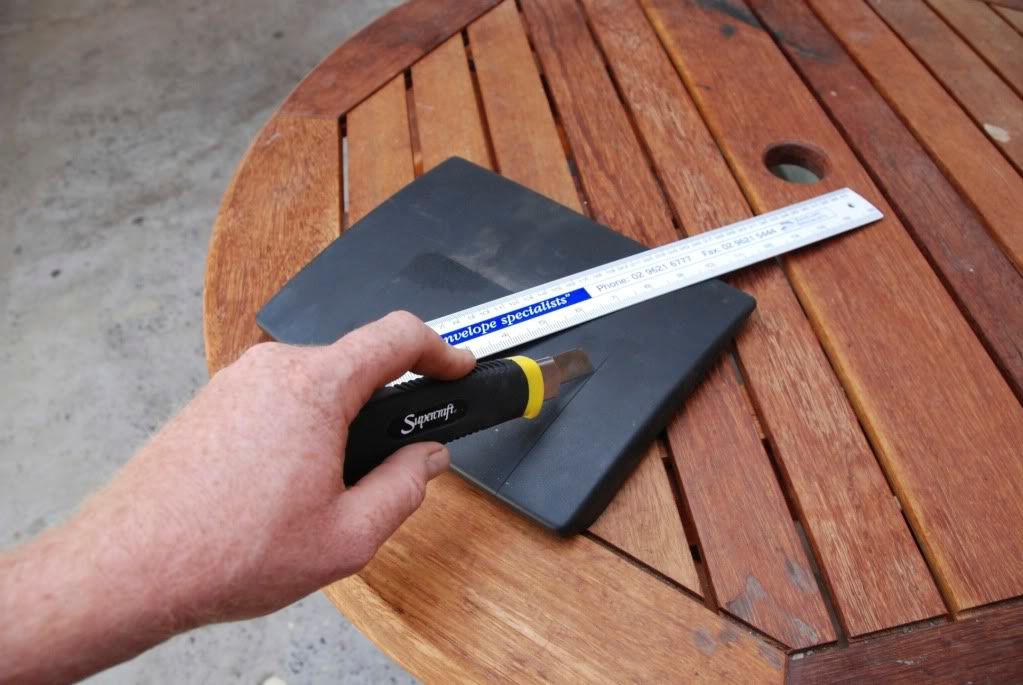
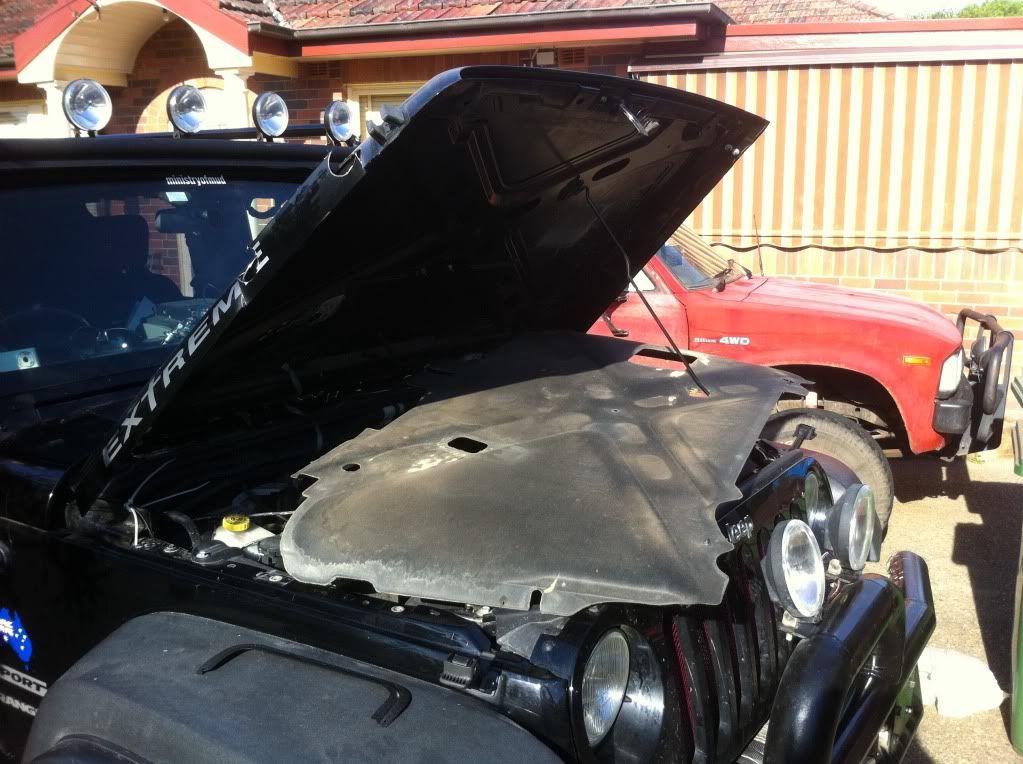
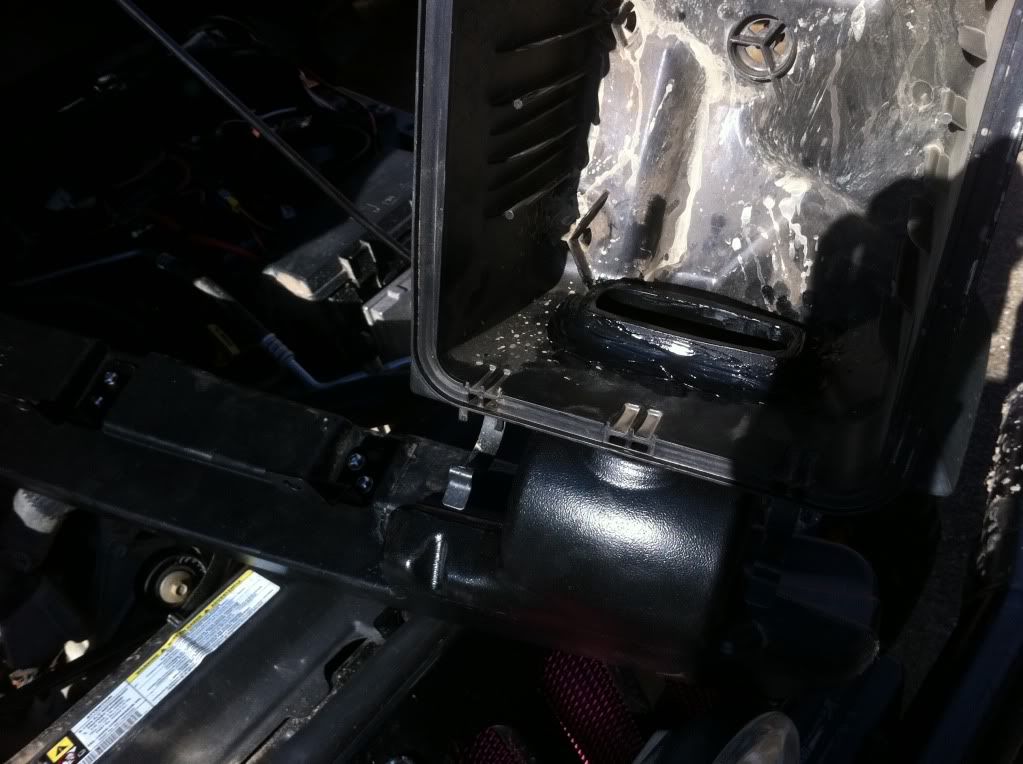
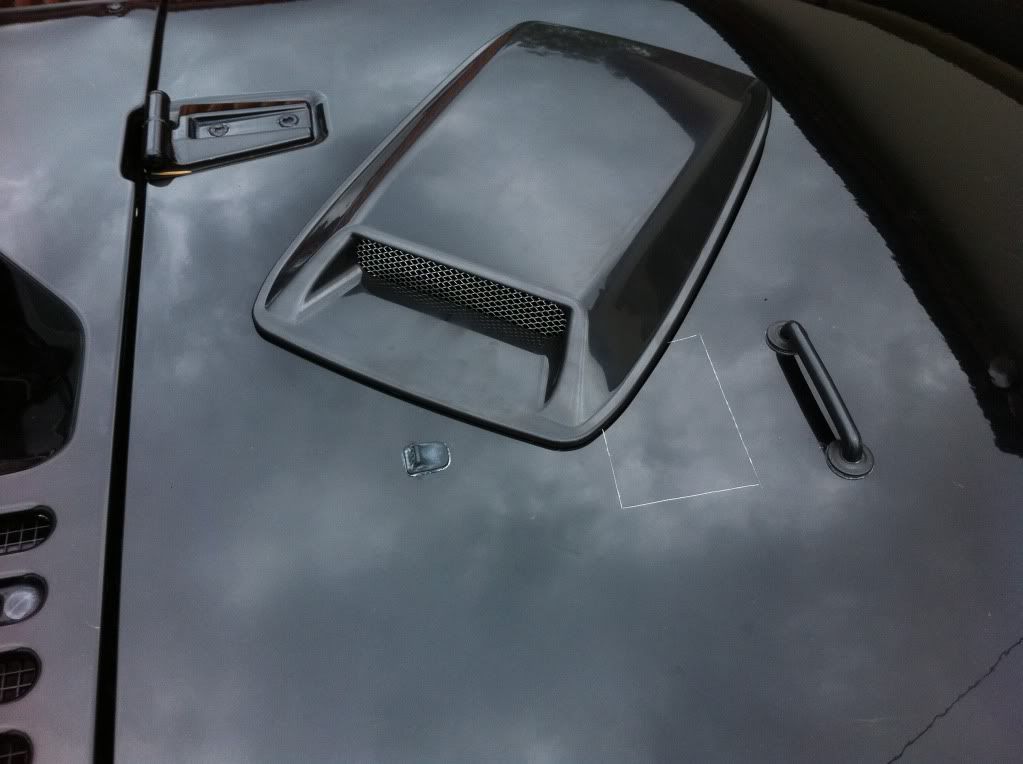
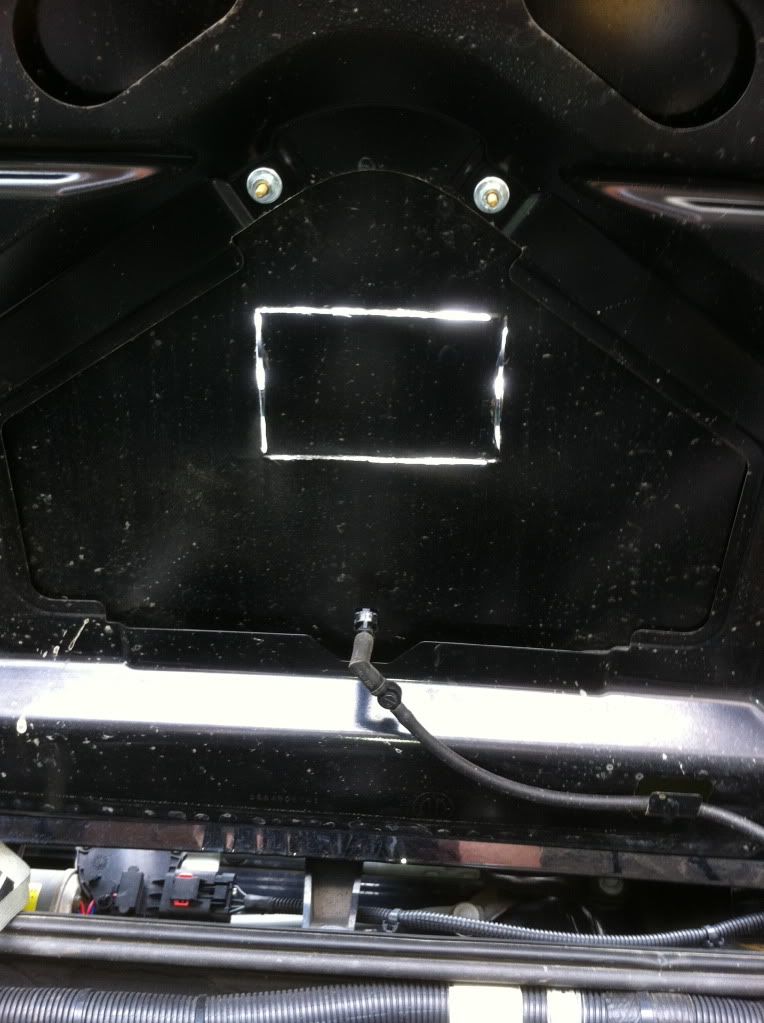
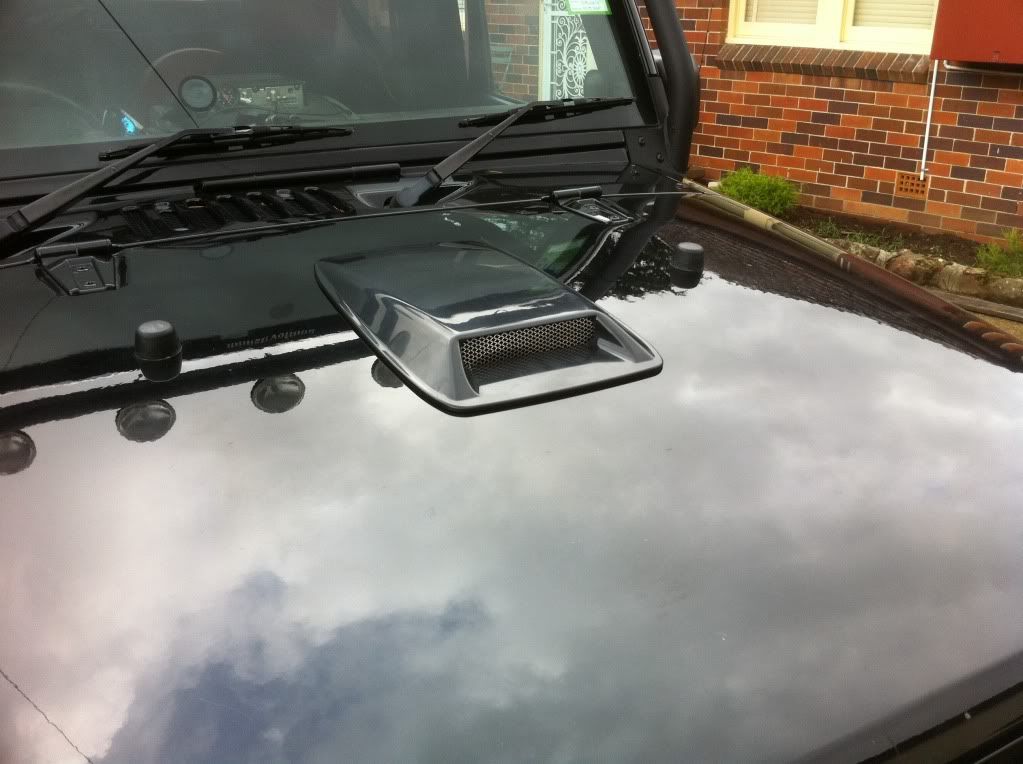
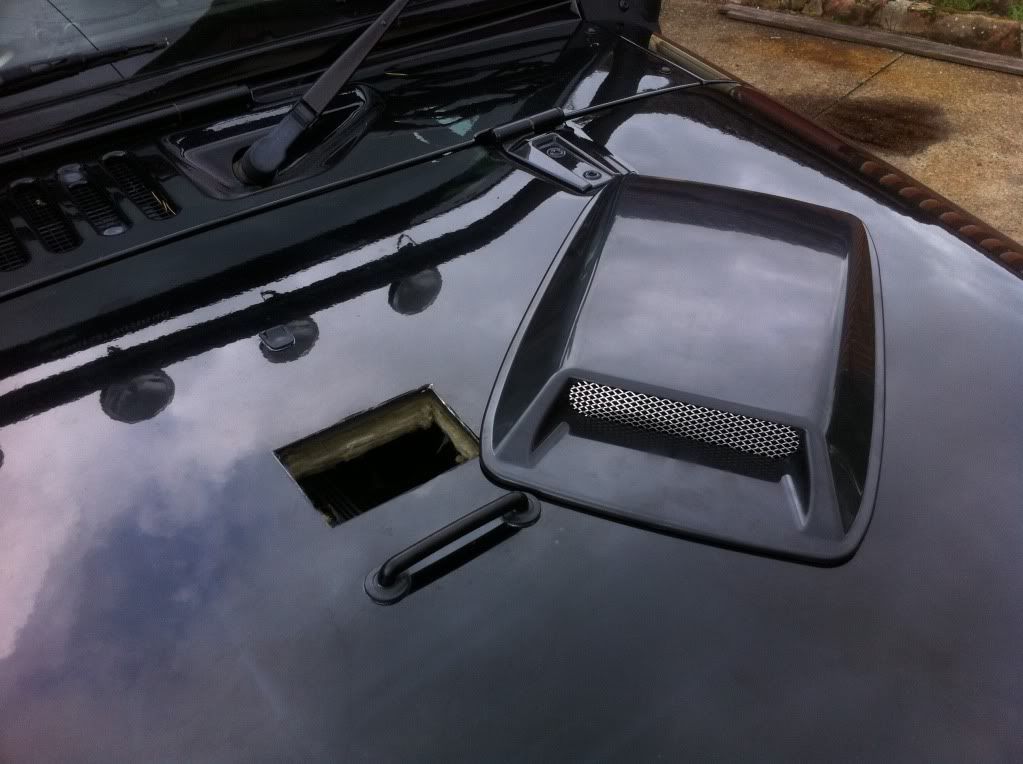
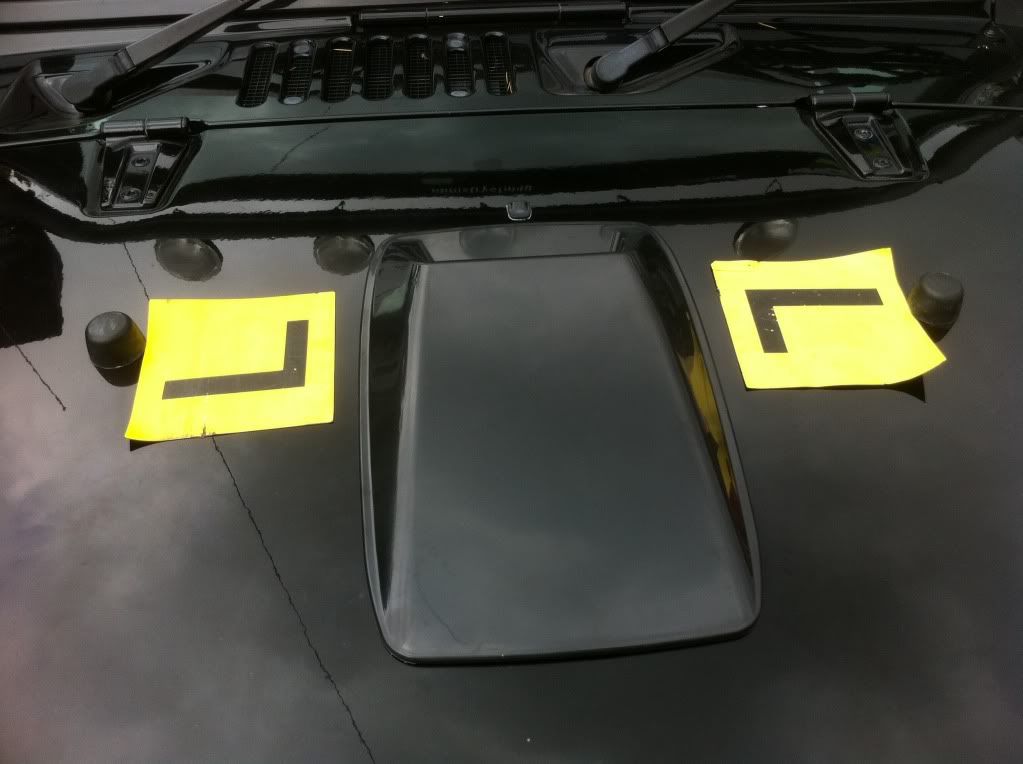
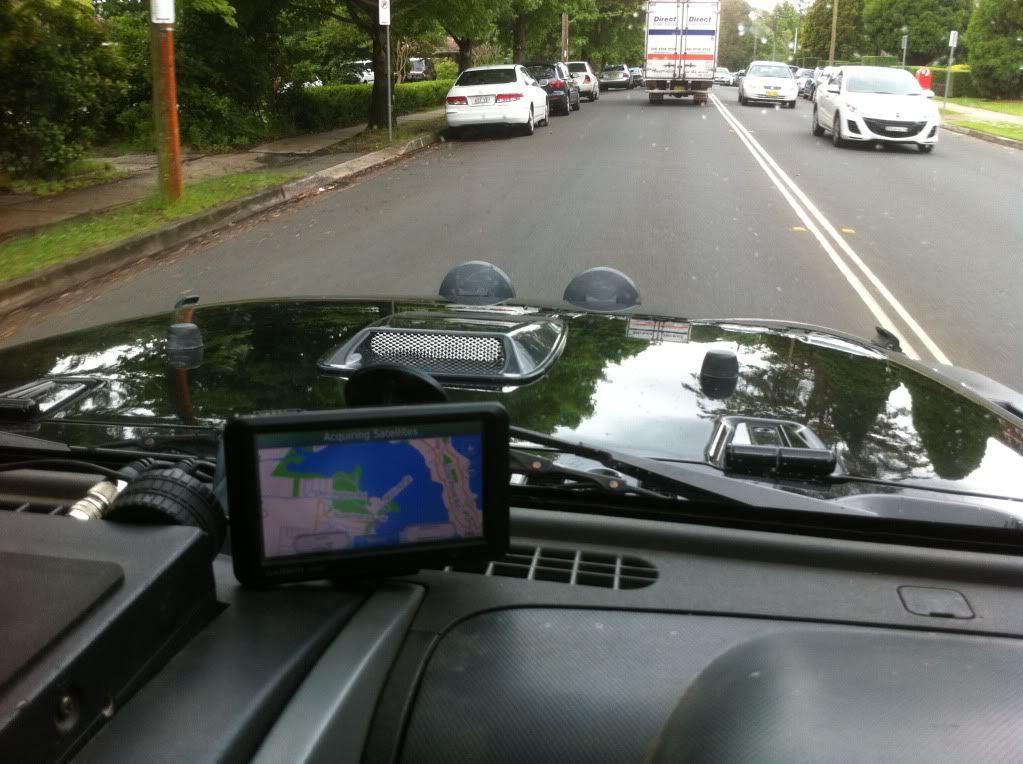
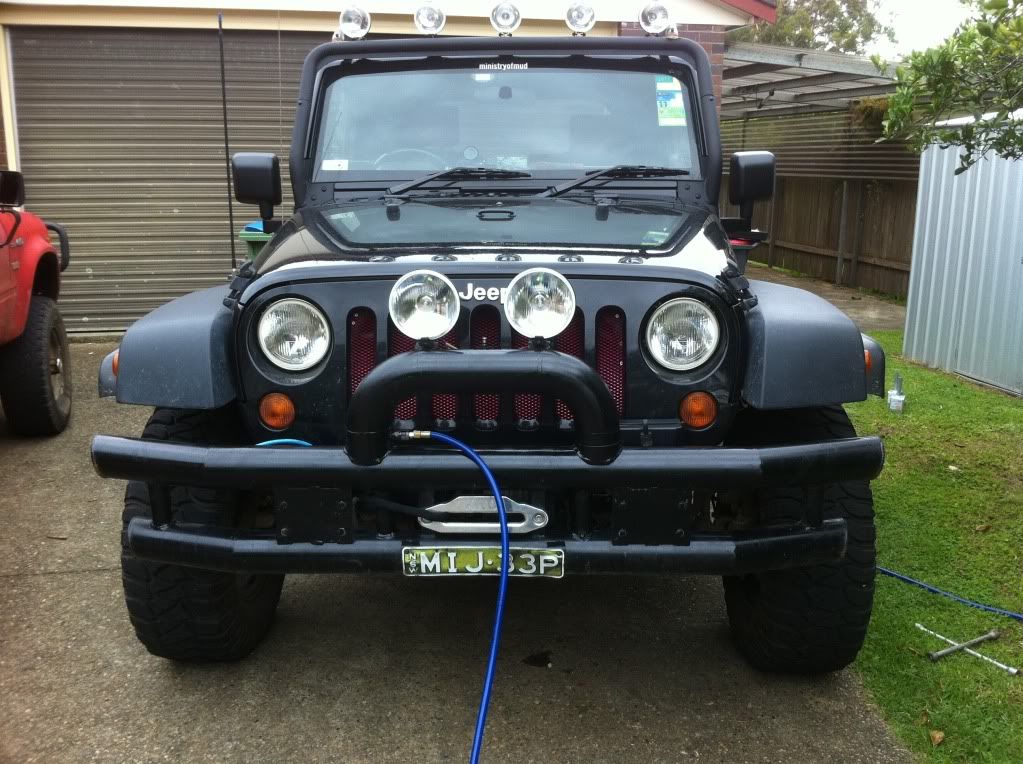
I have just pulled it off and turned it around, apparently the windscreen creates a high pressure system just above the cabin air intake that makes the reverse scoop idea DUMB! - However the heat will still rise up and out when wheelin in 4x4 Low and I can get a heap more air under the hood at speed - well thats my theory and I'm sticking with it
cheers Hunty
-
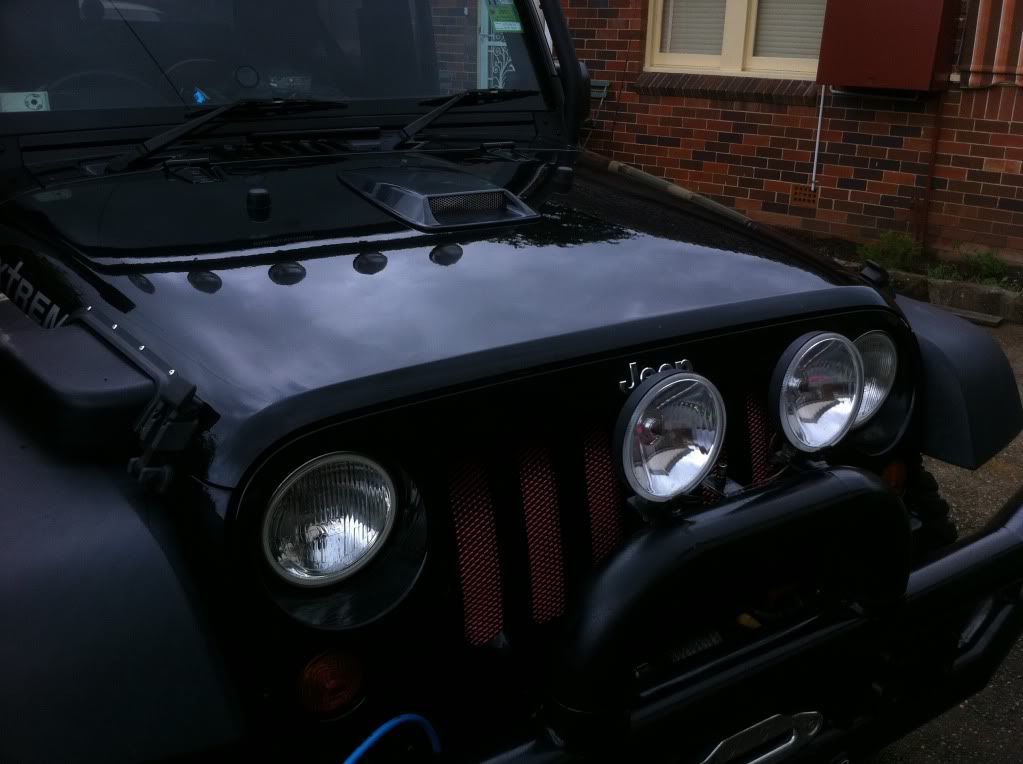
Club Member
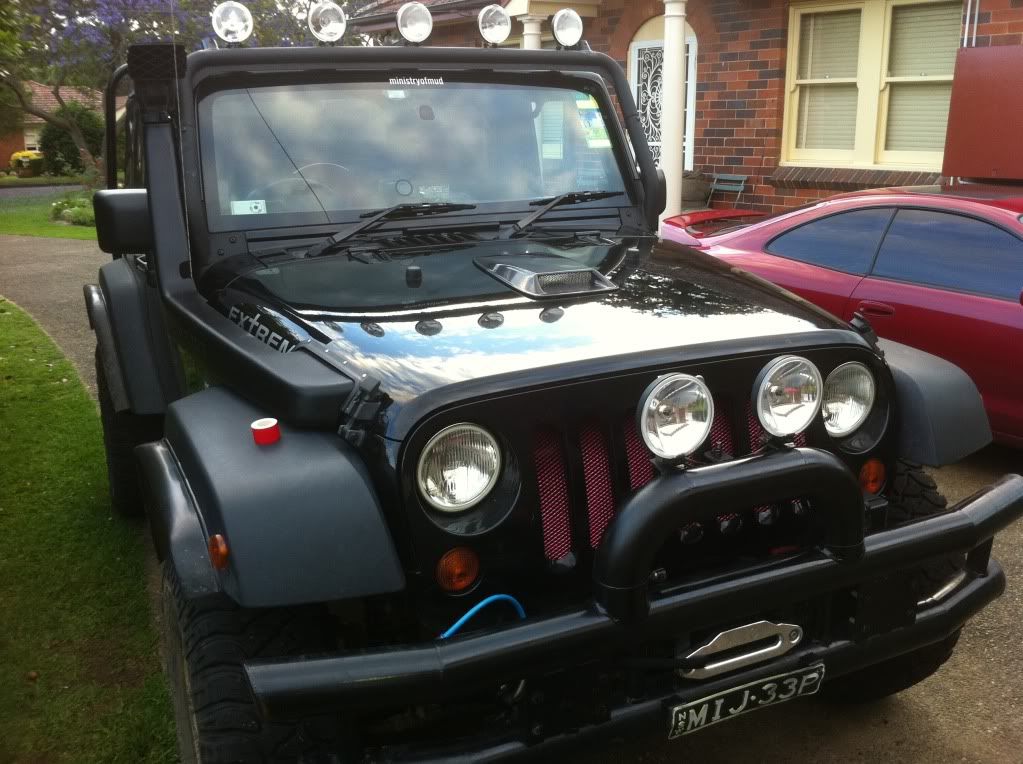
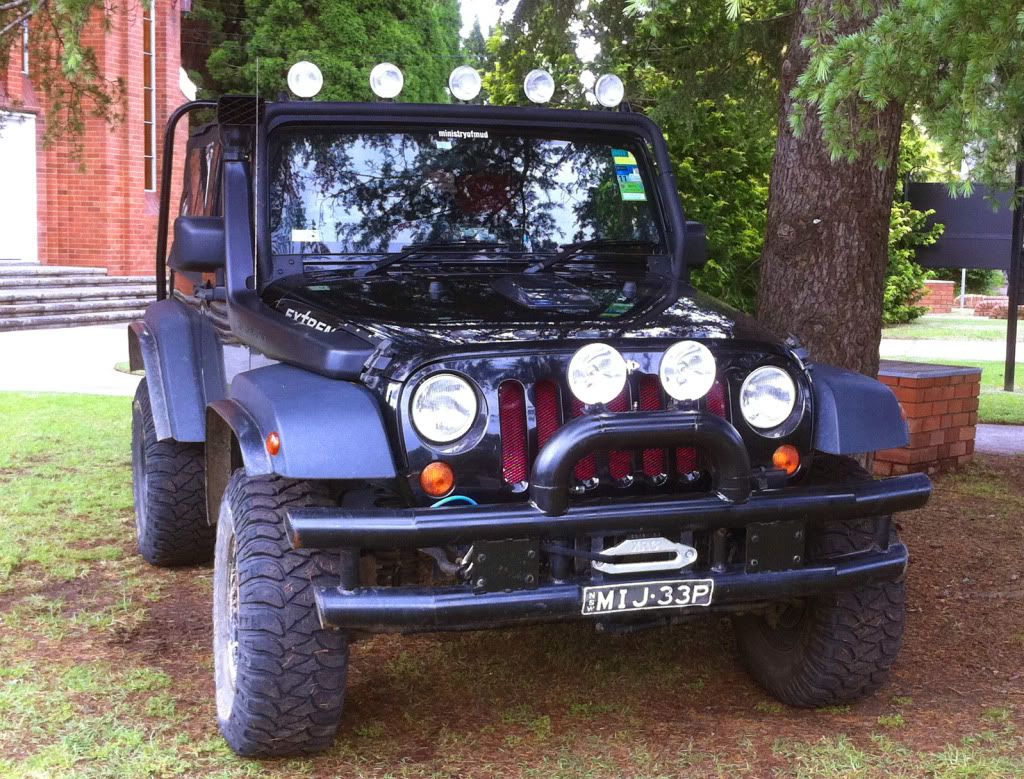
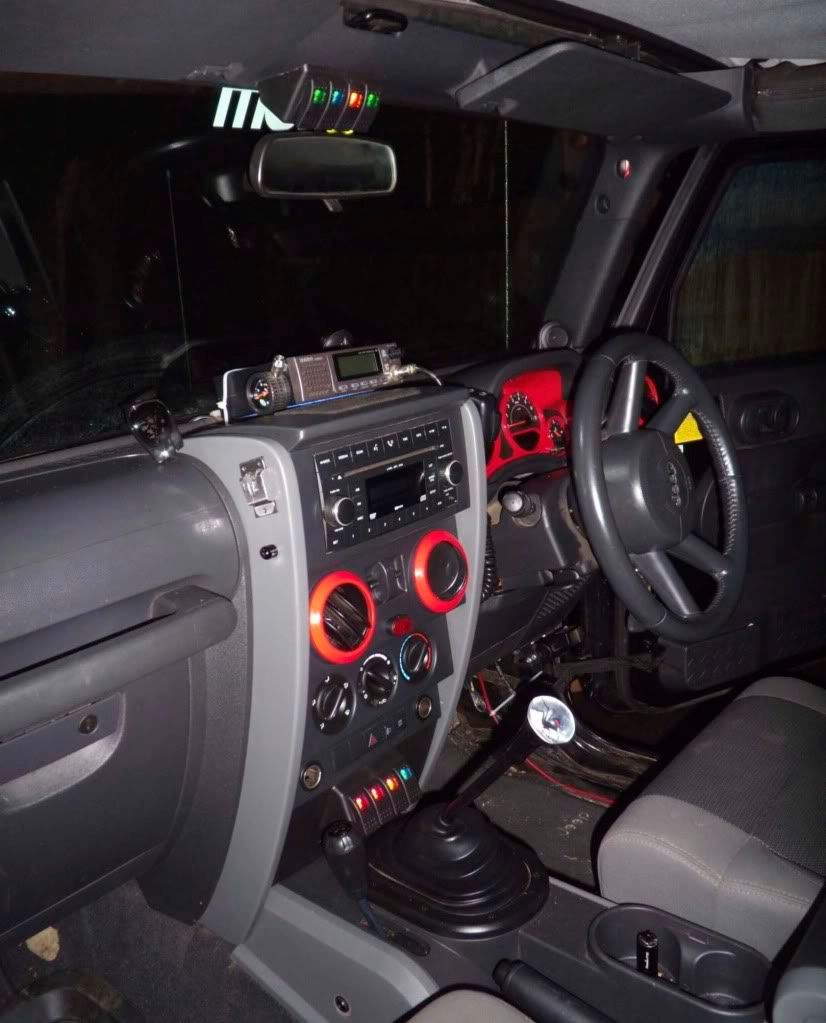
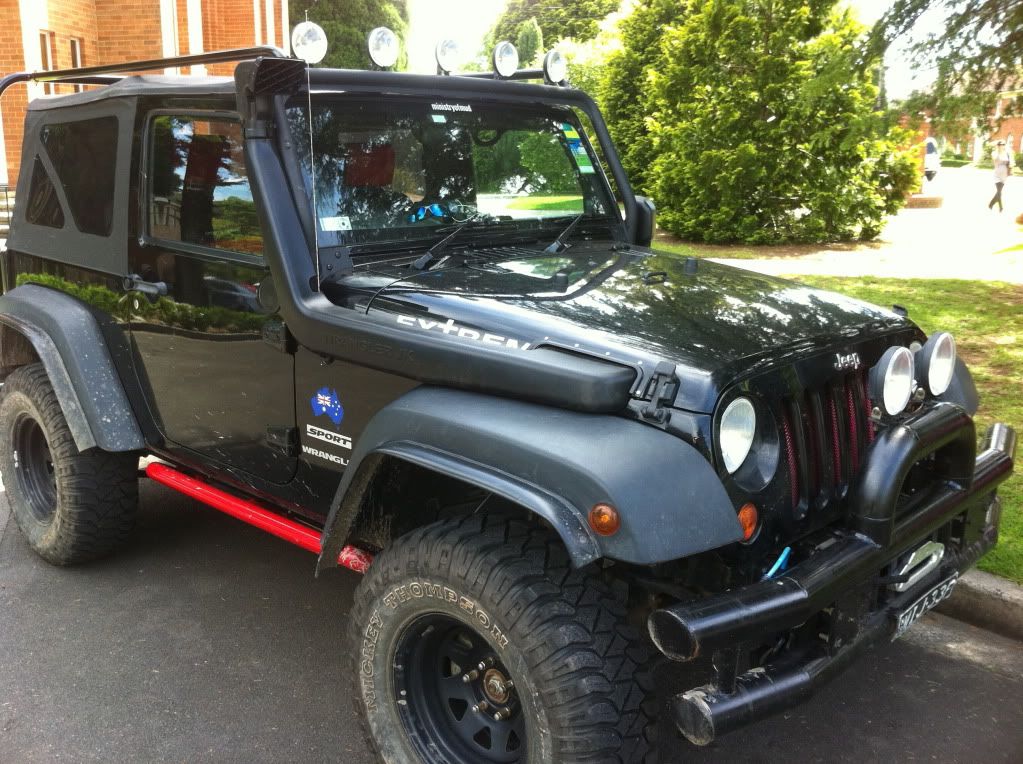
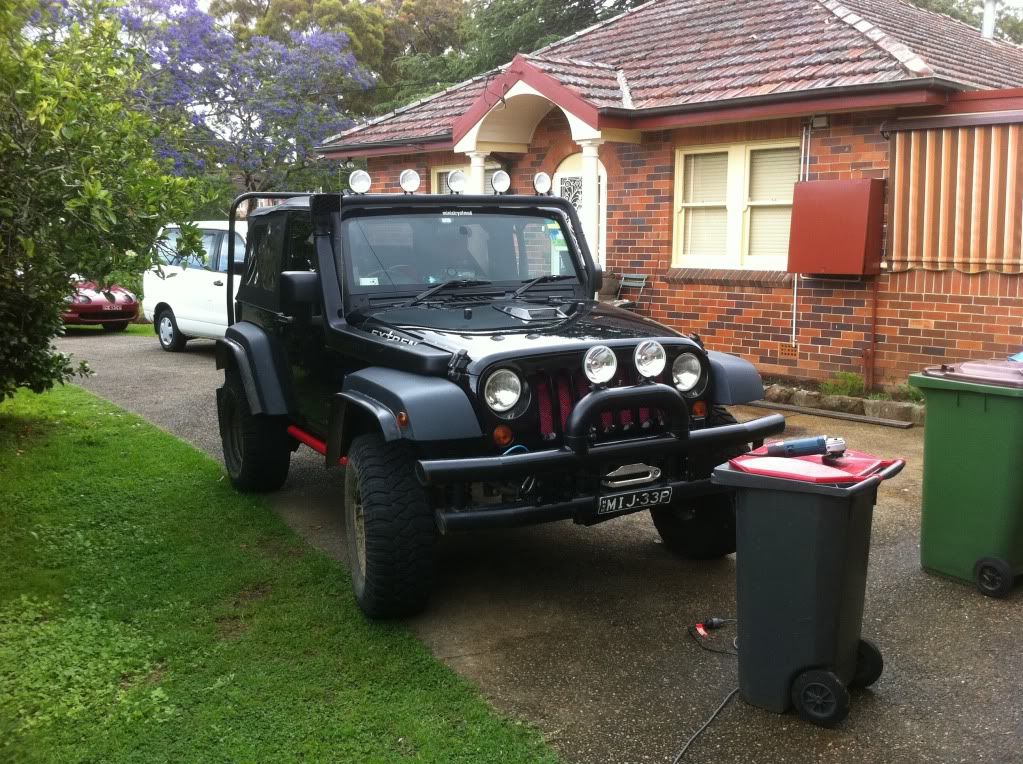
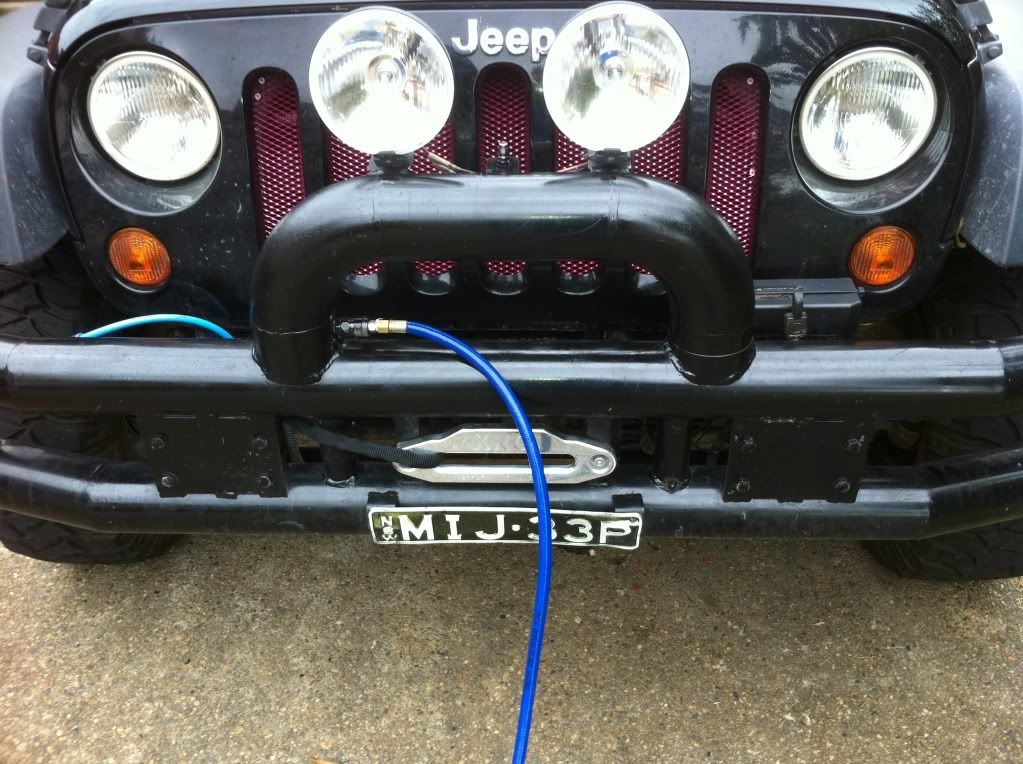
Added more Spotties, light Bar & 10,000lb smittybuilt winch
Finally got a winch
picked it up whilst in the USA for $290 and it came with genuine dyneema rope - smuggled it home in my suitcase lol
-
Club Member
-
Club Member
Tags for this Thread
 Posting Permissions
- You may not post new threads
- You may not post replies
- You may not post attachments
- You may not edit your posts
-
Forum Rules


 ??
??

Bookmarks