Page 44 of 51 FirstFirst ... 344243444546 ... LastLast
Results 431 to 440 of 502

Thread: Hunty's Jeep JK Extreme

  1. #431
    Club Member Hunty's Avatar
    Join Date
    Apr 2009
    Location
    Wahroonga, Sydney
    Posts
    902

    Default 500amp charge / discharge meter

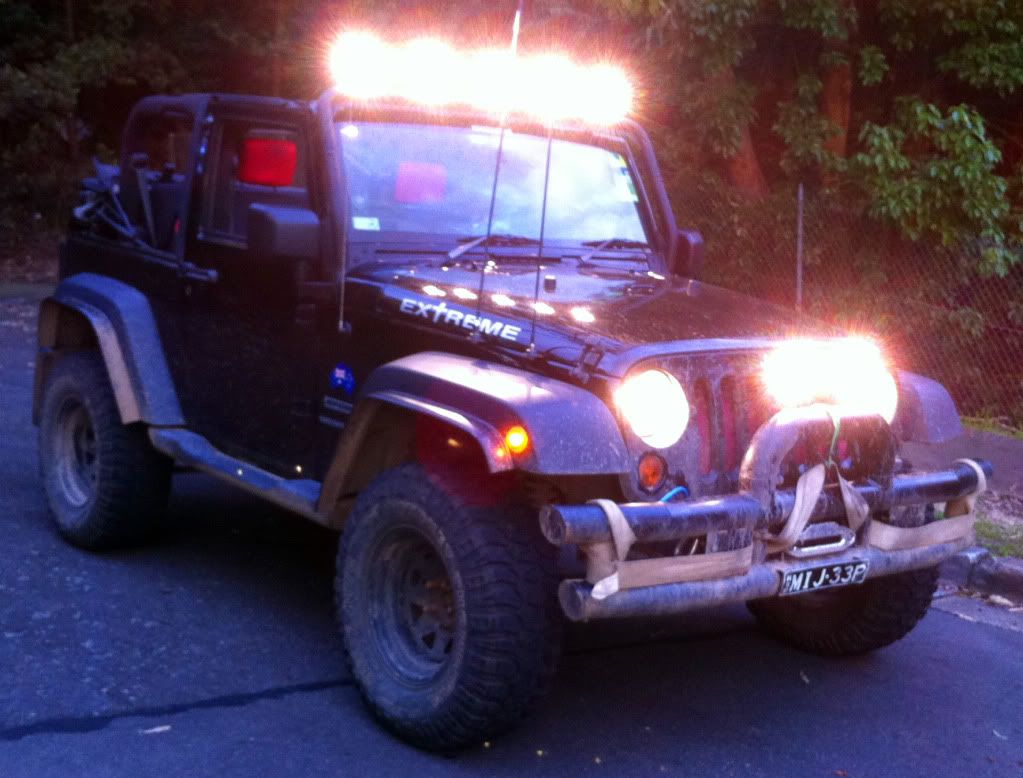
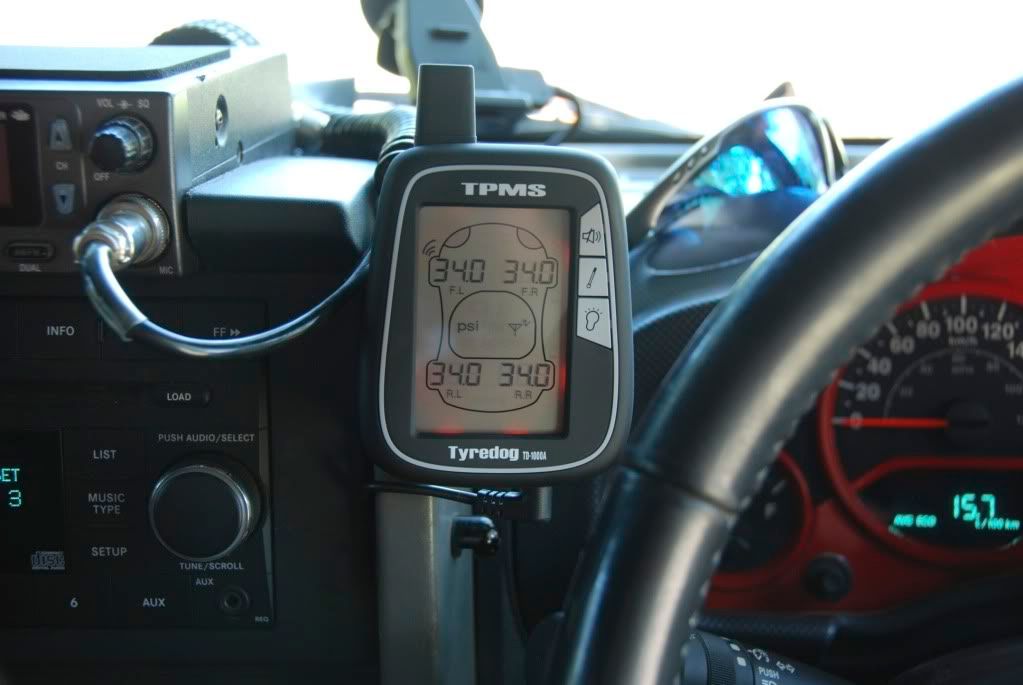
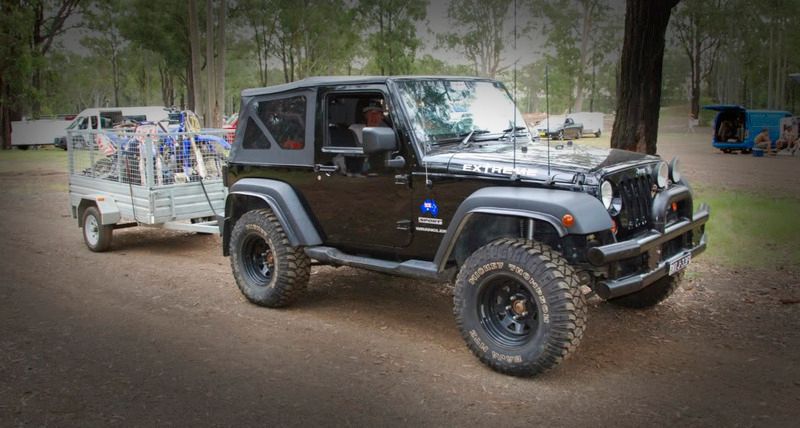
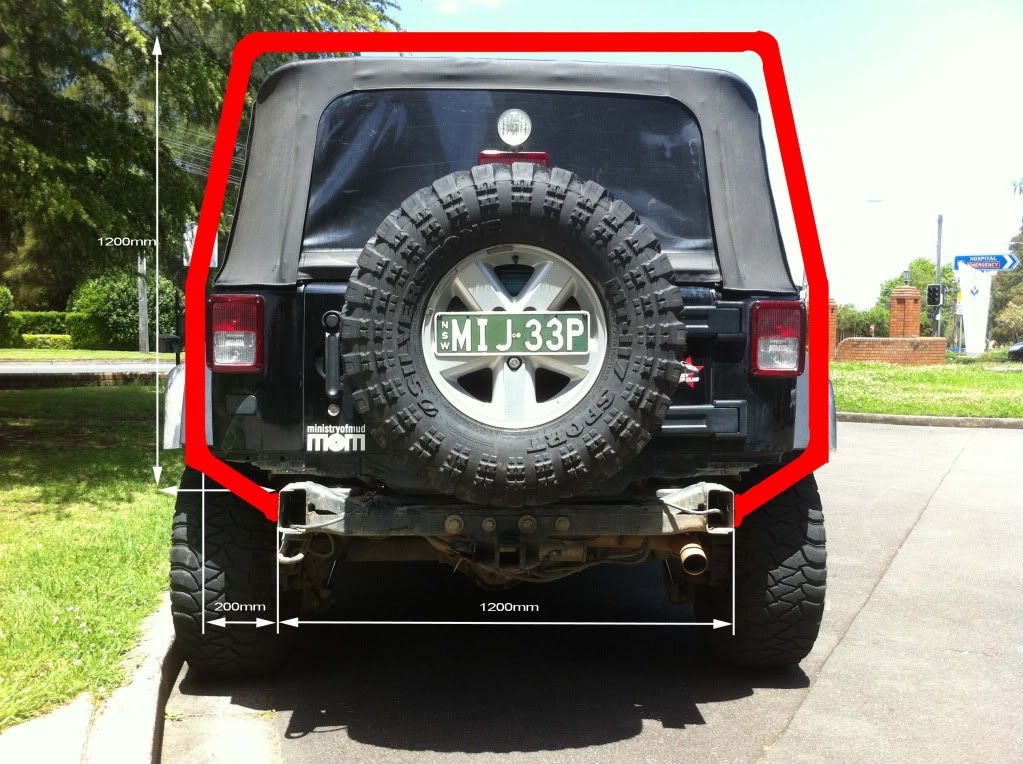
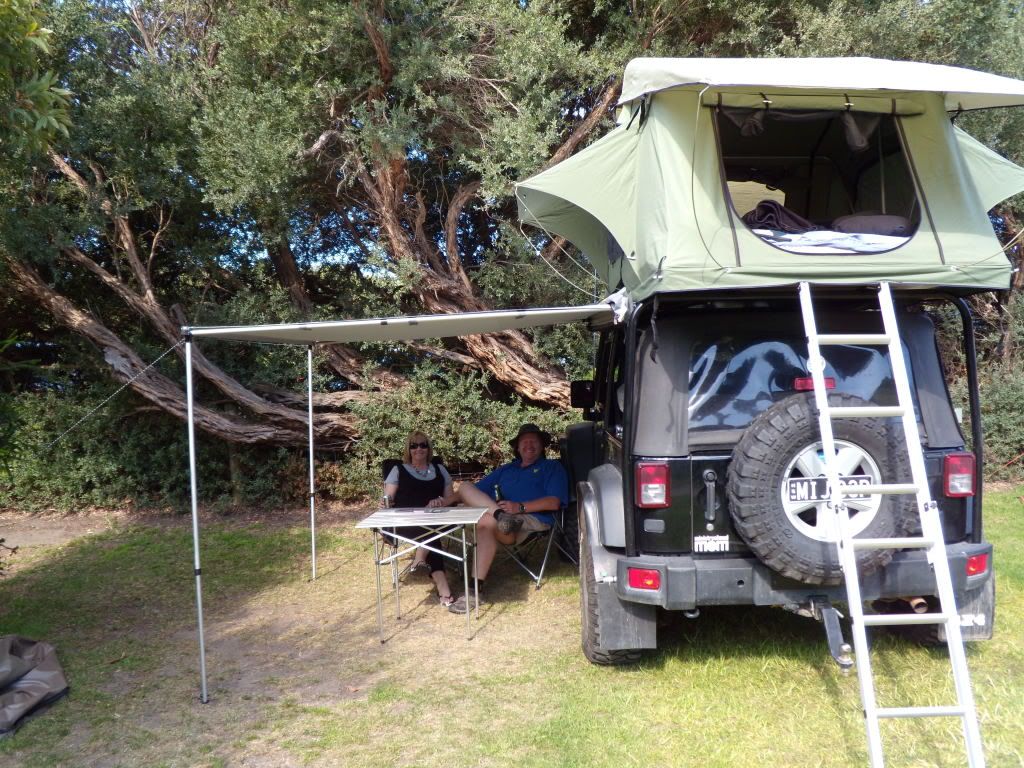
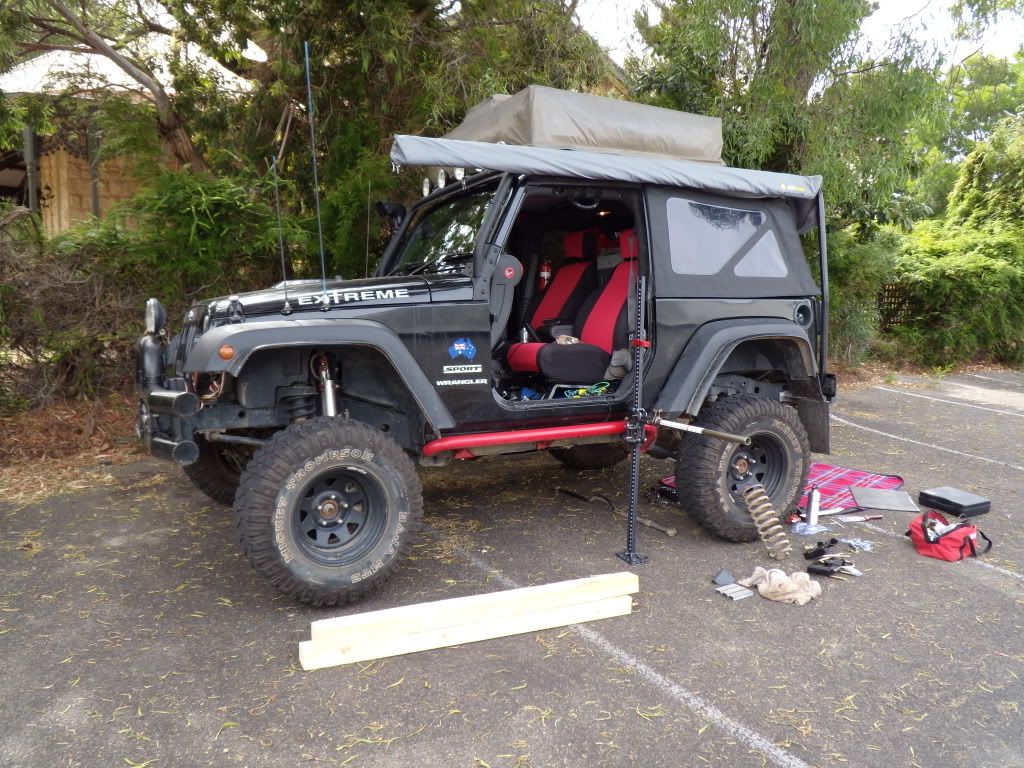
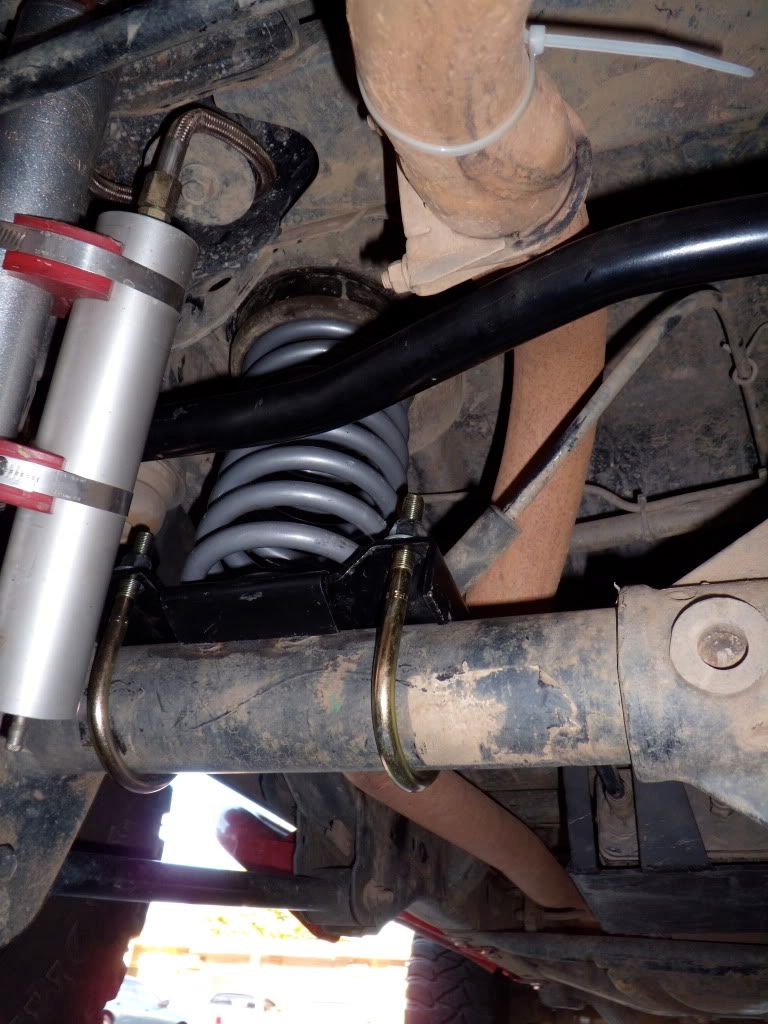
    I have recently added 5 more 100w lights to my JK and was wondering how my alternator was coping, I also wanted to know just how much strain my winch was placing on my Alternator, battery and electrical system at different levels of Pull!


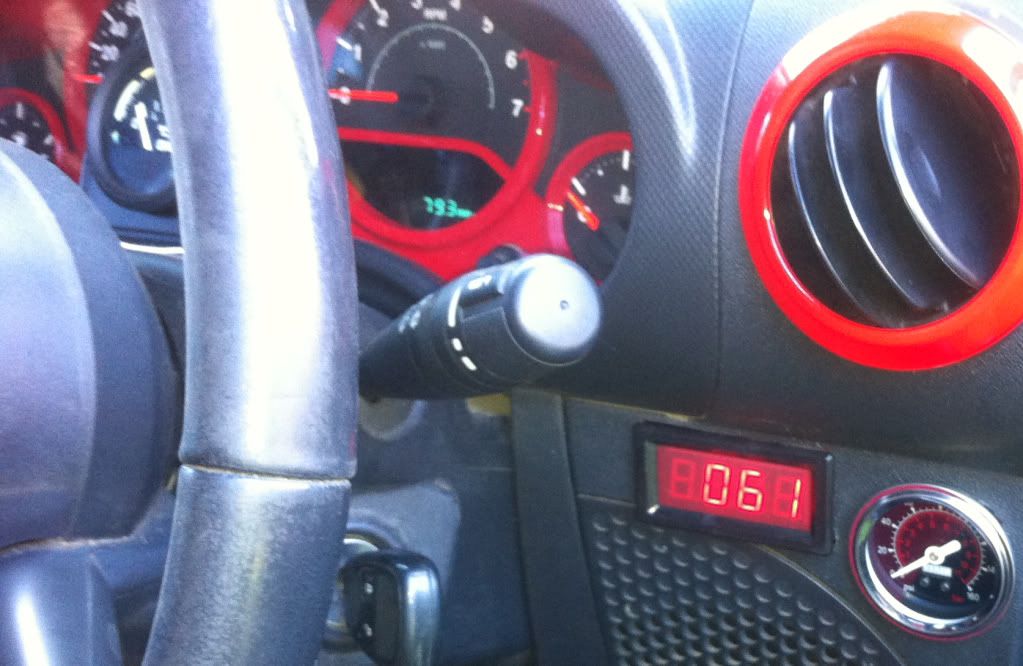
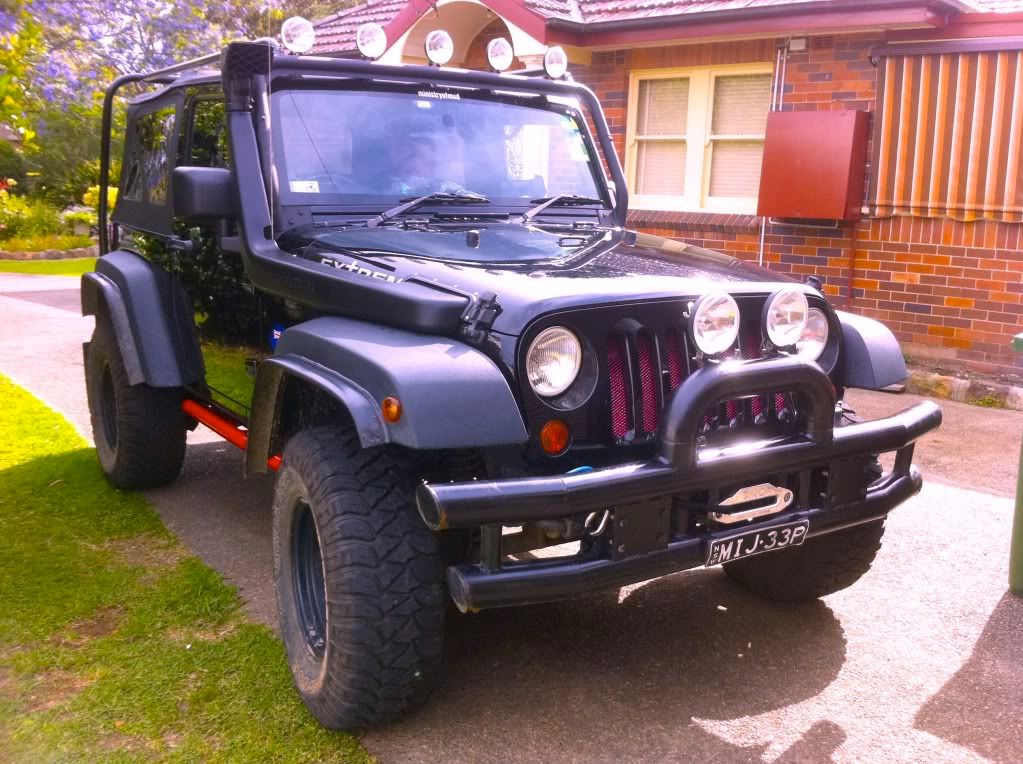
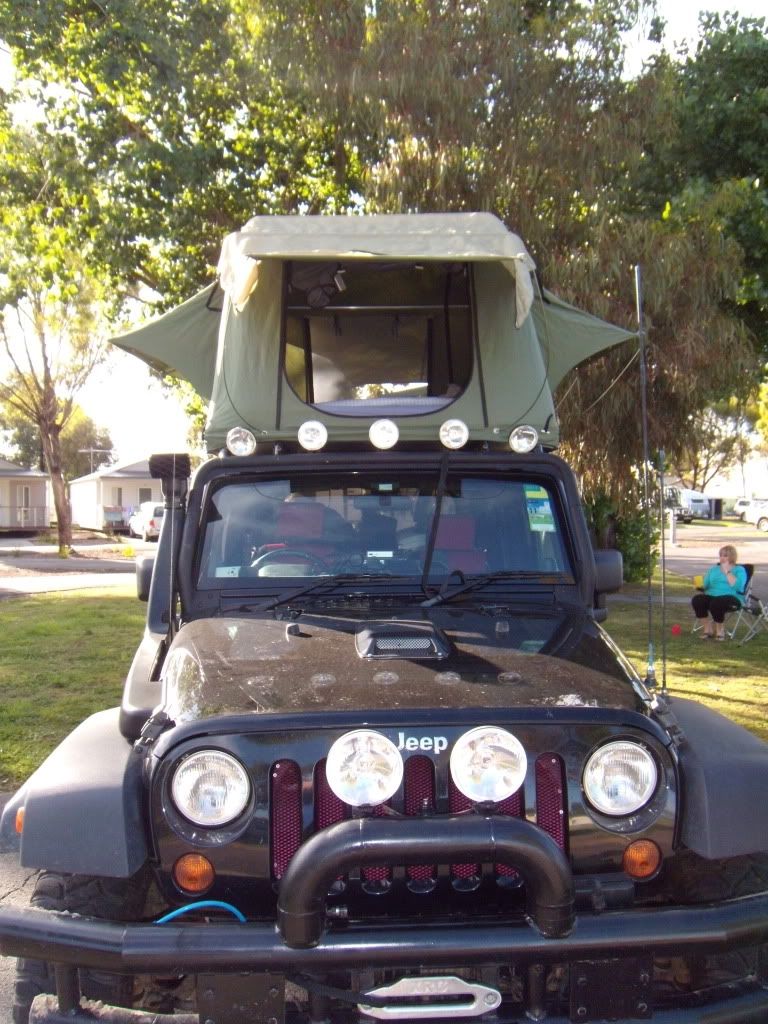
    I now have 900w of light (Hi Beam) and according to my new Ammeter I am using 61amps out of a total of 160 (yes I got lucky and my jeep has a 160amp alternator)


    To save you all the pain I went through - heres a couple of tips
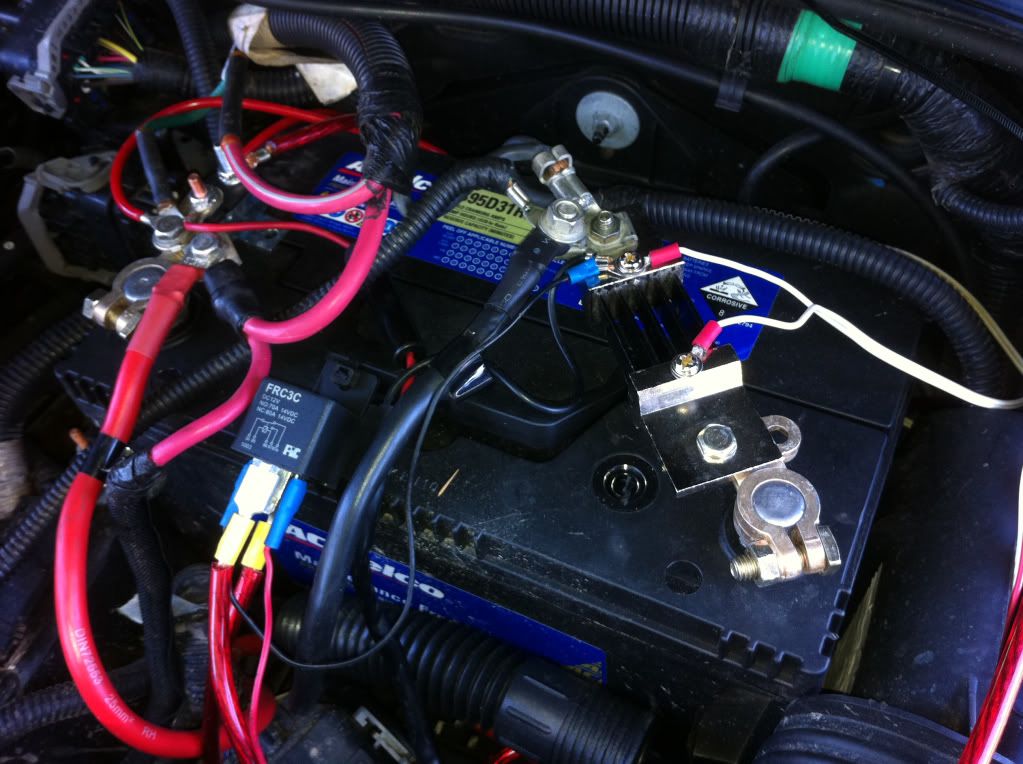
    1. buy a ammeter and shunt that reads up to 500Amps
    2. if you buy off Ebay as I did and they don't supply any instructions or wiring diags then pls only connect the shunt between the battery neg and the jeep - eg disconnect the black wire from the battery and insert the shunt!
    3.be very careful to connect the sensor wires to the shunt with the correct polarity - if you don't you will need to buy a replacement Ammeter with a few seconds!


    Warning - Science content - What is a shunt - well it is a device with a tiny amount of resistance (75ma) so if you connect a load - (in my case 900w of light) to a battery and you connect through a shunt the voltage that you can read at the battery will be (if the battery is full) 13.8v and if you measure the voltage after it has gone through the shunt it will be approx .006v less - this tiny discrepancy is translated by the ammeter and displayed (in my case) as 61amps. - sorry for the science content Jeepers - LoL - but i'm sure at least 1 person wants to now!


    I now it takes approx 250amps to pull a 3.5ton Patrol up a steep hill skidding and bellied out scrapping all the way up!
    cheers Hunty


    Luv My Jeep!

  2. #432
    Club Member Hunty's Avatar
    Join Date
    Apr 2009
    Location
    Wahroonga, Sydney
    Posts
    902

    Default Installed after market tyre Pressure & Temperature Monitor

    Hi Guyz
    I am loving my new tyre dogs - Pressure & Temperature monitoring (realtime)


    I added the monitors to hopefully save destroying an expensive tyre or two whilst wheelin - I have programmed the monitors for on road and off road;


    On road the low pressure alarm is set to activate when a tyre falls below 30psi and I usually run between 32 & 35psi


    Off road I set the alarm to a couple of psi below my aired down pressure ; if I am on sand and am running 12psi I set the alarm to 10psi


    Hopefully this will allow me time to pull over and fix a leak before I have chance to shred them driving on a flat tyre - as all of you know its hard sometimes to know when you have a flat especially if you are in MUD!


    I bought the tyre dogs that screw onto the valve stem - dumb@ss I hear some of you saying already (Yom- LoL).


    Why;
    1. I wanted to be able to remove them and use them on hire vehicles.


    2. They are coded to the wheel position so if (and I always do at half way) I changed the front tyres to the back - didnt want to have to break the tyre bead. just to relocate the monitors.


    3. I often tow a trailer and will take the front 2 off and put on the trailer when towing - as you all know when the trailer starts to feel a little soft / bungee to tow its too late - tyre already shreaded.


    Tip
    When I screwed them onto the valve they protruded past the sidewall of the tyre - this was clearly going to be a bad idea for serious wheelin so I took another handful of smart@ss pills and modified my rims!


    I found a wheel mod friendly tyre store and had them remove my tyres and drill 4 additional valve stem sized holes and installed 4 extra valve stems - 1 in each rim! as close to the centre of the rim and as far as possible away wheelin danger.


    Bonus
    Not having to remove them & replace them everytime I wanted to Air Down & Air Up
    I can now air up with the Mrs comfortable in the car with aircon on - all she has to do is toot the horn when the tyres are back to road pressure - I don't have to continuously check the pressure - can do other things like reconnect my sway bars, wipe mud from lights and number plates etc
    Enjoy Cheers Hunty


    Luv My Jeep!

  3. #433
    Club Member Hunty's Avatar
    Join Date
    Apr 2009
    Location
    Wahroonga, Sydney
    Posts
    902

    Default Gears, Lockers & Evap can bash plate

    Finally got rid of the 3.21's - which made my heap quite sluggish when I ran 35's
    so I changed to 4.56's and ARB air leakers even though I currently run 33's MTZ's I like the 4.56's it gives me quite a good low 1st gear when rock hopping + their is still the smallest chance that one day I can get engineered on 35's


    Luv My Jeep!

  4. #434
    Club Member Hunty's Avatar
    Join Date
    Apr 2009
    Location
    Wahroonga, Sydney
    Posts
    902

    Default Installed custom drawers - removed rear seat

    The drawers really make touring in the 2dr JK much more pleasant - I made really big drawers - they filled up the entire TUB - plenty big enough for the Mrs & I to pack everything we needed for a 10,000km road trip into central OZ


    A carpenter I am not! so I will not bore you with a dumbass how to. (especially as I have no idea anyway! LoL - lots of wood, screws and liquid nails!)


    I will however point out a couple of "Jeep Thangs"


    1. - the rear floor is not flat or level
    2. - the rear seat mounts in the floor are not (in mine anyway) centered
    3. - the tub, dont what else to call it (in mine anyway) is not square!


    I got out a huge hammer to flatten the little metal tabs that the removable fiber/plastic storage cover slots into.


    I have made a little access hole in order to utilise the small lower storage are.


    Still to come (and I havent figured out the best way to do it yet) is some kind of Piano hinge on the front end - behind the driver and passenger seat to allow me to access the 2 large extra storage areas in front of the wheel arches.


    Yes I made my drawers BIG! - i wanted to use all the available space in the back of my huge 2dr JK LoL - i didnt even use sliders because I wanted to maximise the space available for the drawers! - to ensure they slide I used 17mm 6 ply with the hard shinny finish and coated them with silicone!


    I relocated the sub to behind the drivers seat - it fits in there comfortably and gives better bass in the front!


    Covered it all in marine grey carpet and it looks like a bought 1!
    cheers Hunty


    Luv My Jeep!

  5. #435
    Club Member Hunty's Avatar
    Join Date
    Apr 2009
    Location
    Wahroonga, Sydney
    Posts
    902

    Default Custom Bars, Roof top tent & Awning

    I set my rig up to do the Cape with the SJC and took it out to Uluru as a test - It tours really well - very comfortable.


    I designed the bars myself as I wanted them to be very strong (to hold my fat @ss)


    [IMG]http://i685.photobucket.com/albums/vv217/ashunty/file-4.jpg[/IMG
    ]
    Luv My Jeep!

  6. #436
    Club Member Hunty's Avatar
    Join Date
    Apr 2009
    Location
    Wahroonga, Sydney
    Posts
    902

    Default Chime busted & no anoying seatbelt warning $5.00

    Hi Guyz
    This is perhaps my best mod ever!!!!


    What the hell were Chrysler thinking!!! - who on earth wants to listen to that annoying chime just because they have opened their drivers door! or they want to slowly winch up a steep hill covered in mud and don't want to wear or dirty up their seat belt (especially if its a daily drive) (please always wear your seat belt because if you don't and your airbag goes off it will probably kill you!)


    This mod will give you a switch to decide if you want your Jeep JK factory or quiet!


    The only downside to this mod is - if you silence the chime you also disable the interior light sensor -(only on the drivers side) the light will still come on from the light control on the steering column and the passenger door!


    What you need
    1. Scotch Lock 25c
    2. Red switch - Jaycar $2.95c
    3. small piece of wire and some electrical tape.
    4. Peace and Quiet - priceless!


    Tools
    1. philips head screw driver for the 4 screws in the door
    2. allen Key for the hex head inside the door release
    3. wire stripper and Soldering iron / solder


    Step 1
    Remove inside door skin - remove 4 screws and 1 hex head bolt
    gently pry off the trim starting from the bottom of the door - just pull and you will hear the plastic locks popping of 1 at a time - go slow and and after you have released the bottom of the skin lift the door skin up to clear the bottom of the window lip - carefully remove the plug to the central locking switch.


    Step 2
    cut the purple wire - sorry the photo is little blurred


    Step 3
    drill hole for switch - any where you like! - theres plenty of options re space for a switch!


    Step 4
    insert and wire up switch to purple wire.


    Step 5
    replace door trim.


    Step 6
    clamp scotch lock onto green and black seatbelt sensor wires under drivers seat.


    Step 7
    Brag to your friends that you can open your drivers door and not have to put up with the endless annoying chime and the stereo stays on - you can go 4x4 wheelin with your seat belt off and not have to listen to the annoying chime - please always wear your seat belt because if you don't and your airbag goes off it will probably kill you! or at least break your neck!


    Enjoy
    cheers Hunty


    Luv My Jeep!

  7. #437
    Club Member Hunty's Avatar
    Join Date
    Apr 2009
    Location
    Wahroonga, Sydney
    Posts
    902

    Default Crazy incab winch control - no obsolete - I use cheap ebay remote

    Hi Guyz
    I woke up sunday morning and all was well, Bathurst 1000 on the TV, a perfect day brewing until - I had a great idea - why not install a switch inside my Jeep to run my winch!


    So I took a fistful of smarta$$ pills and begun!


    I decided I wanted to keep the original SmittyX wired remote and add a wireless transmitter / receiver and a switch inside the cab near the steering wheel.
    After much sitting around and watching the great race I realised that I really should install some kind of hidden switch to disable the winch so when I park it with the roof off people will not be able to reach into my cab press the winch out button and easily rip off my dyneema rope (which I keep tightly spooled onto the winch - so tight in fact that the mechanical free spool release can't be operated until some slack is created by pressing the winch out button for a few seconds.


    I grabbed another handful of smarta$$ pills and realised immediately that if someone with a smittyX wired remote control really wanted my dyneema rope they could just plug their winch control into my winch and spool it all out - so I needed a master lockout switch preferably in the cab and preferably with a key


    finally I got motivated to do it and thought what if someone sitting inside the cab (baby sitting the steering wheel and brakes) were to press the winch out button whilst I was outside the cab overseeing the winching and pressing the winch in button on the smittyX remote or the wirelss transmitter "would the winch blow up in spectacular fashion 
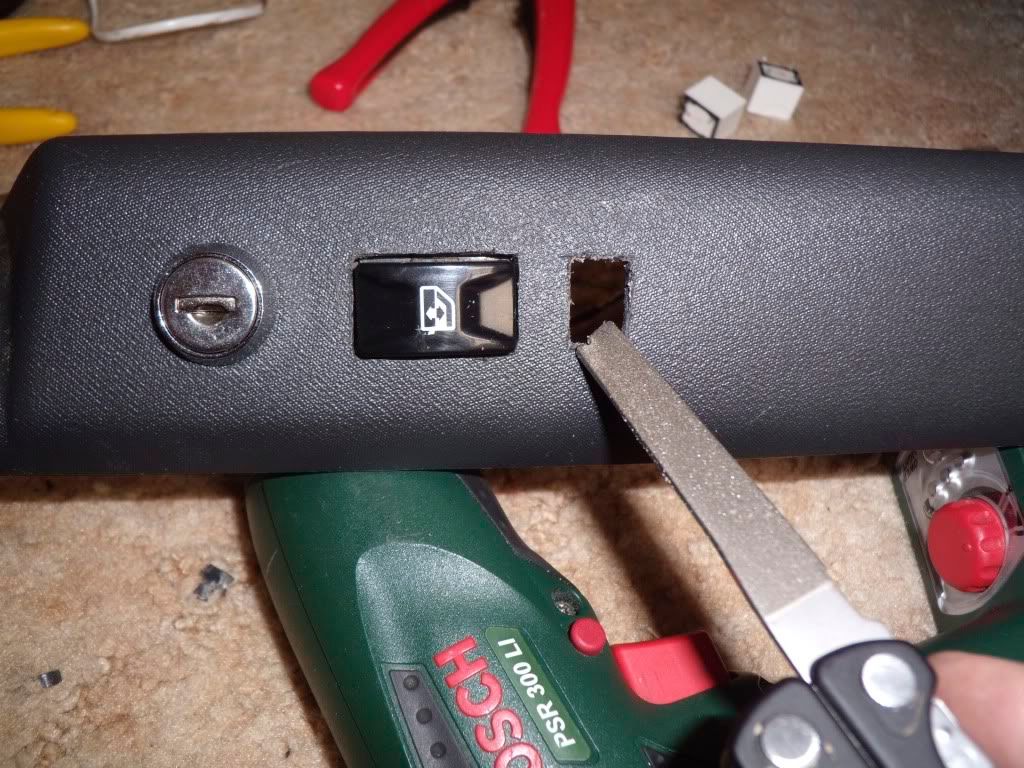
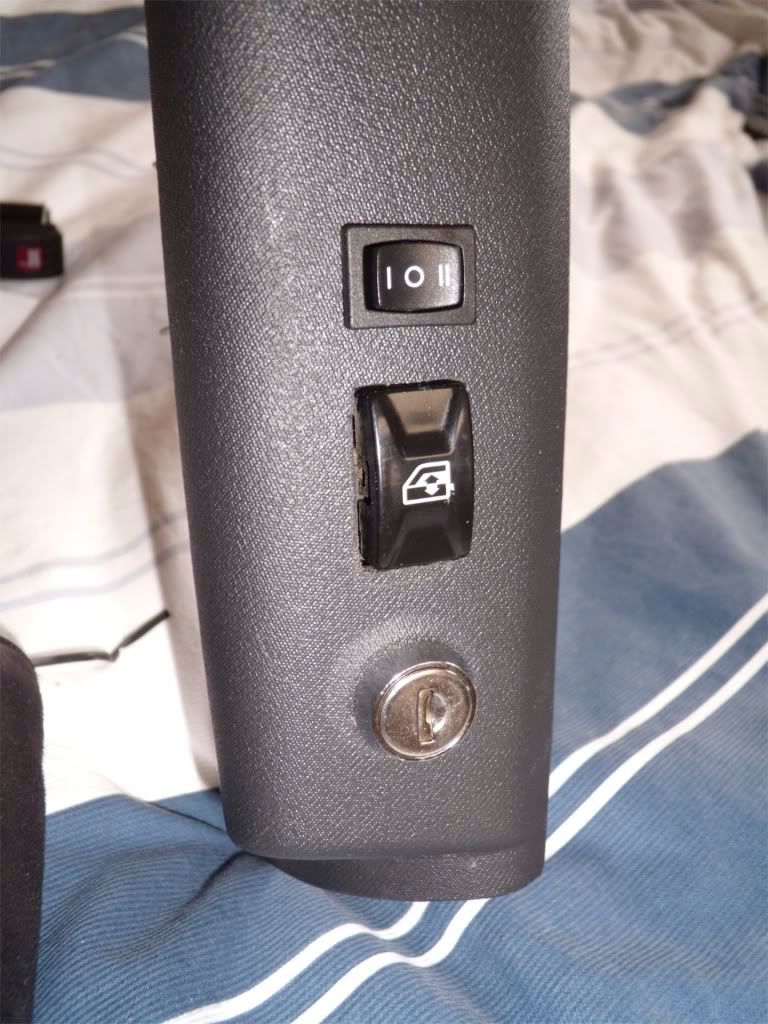
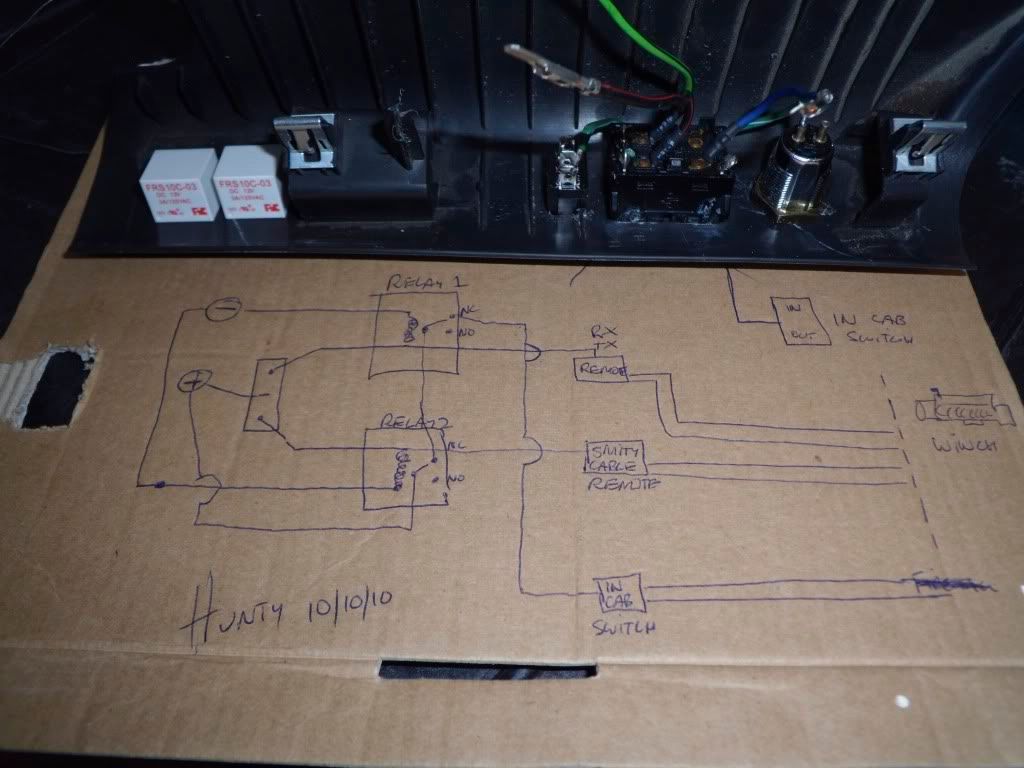
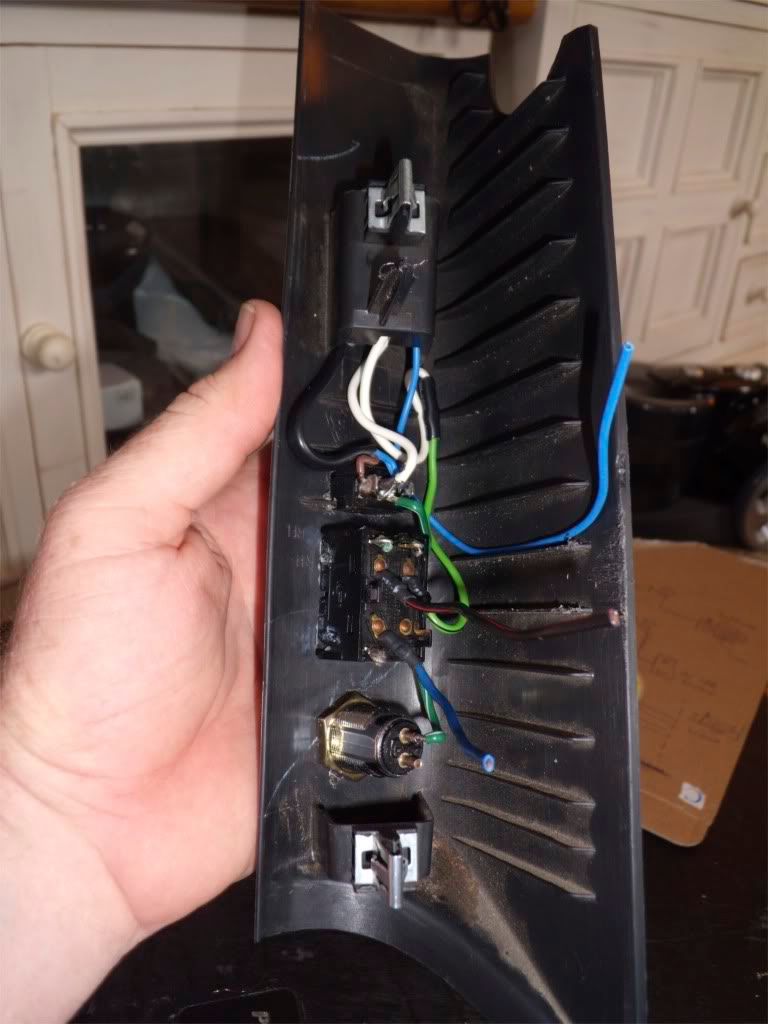
(If you know what happens please post up) - a lockout of some sort needed to be engineered!


    quick tally up
    1. Wired remote
    2. Wireless remote
    3. Incab switch
    4. Master lock with key switch
    5. electrical lockout system


    I went to the wreckers because I knew that car window switches have a lockout system built in to stop dad in the front and little johnny in the back both pressing opposites (up & down simultaneously) and blowing up the window winder


    I wanted a slimline switch - i had seen other JK Jeeps with Arb switches mounted in the A pillar and wanted to try to get a little more subtle installation so I found a nice (LoL) SSangyong Musso 4x4 at pick a part and extracted its rear window switch.


    Holdens still leading so I got bored with the race and started to sketch possible circuit diagrams (as per pic lol) and realised that I would need at least 2 relays to ensure fool proof lockout


    Final tally
    1. Wired remote
    2. Wireless remote
    3. Incab switch
    4. Master lock with key switch
    5. electrical lockout system inc 2 x 12v relays with N/O N/C contacts
    6. Hookup wire
    7. Fuse holder and fuse
    8. Convoluted plastic split tube to protect wire going from Cab to winch
    9. 3 way selector switch - Jaycar i off ii
    10. 2 more boxes of smarta$$ pills - because this became a real noodle scratcher


    Step 1
    cut in switches - i preffer to use a piece of cardboard and cut a hole with a stanley knife and test fit my switches in the cardboard first - when I get the perfect fit I trace the hole onto the A pillar and then cut with a sharp knife and file with a metal file to get the hole as perfect as I can!


    Step 2
    open the passenger door, remove the side dash pannel and you will see a hole blocked with yellow insulation material, get a big screw driver and poke through it - you now have acess from cab to engine bay - install cable


    Step 3
    wiring, soldering and crimping


    Basic wiring concepts
    1. the key interrupts the 12v coming from the winch controller b4 it gets to a) the in cab switch b) the wireless remote and c) the standard smittyX wired remote control


    2. The little switch (i off ii) is connected to both relays (i) to relay 1 and (ii) to relay 2 - 12v positive in ---- the negative in is connected to the Jeeps earth - when the switch (i) is pressed the relay (1) is activated the same goes for switch (ii) and relay 2 - --- because the relays provide a N/C output (N/C stands for normally closed - relay output is on even when the relay is not energised) it is possible to wire the incab switch through the relay N/C connection! ---- this will mean that when the switch is pressed (activating the wireless or wired remotes) and the relay is activated the in cab switch will get disconnected. (sorry if I am making no sense - run out of smarta$$ pills - LoL - if anyone can better explain this little relay magic please post up!


    3. Connect everything up but keep the main 12v feed (350amp big red cable) to the winch off the battery incase of any D'oH fickle finger of fate actions - test with multi meter to ensure all works as desired.


    in conclusion
    The Key is the Master switch
    the little switch determines which of the 3 input options will go to the winch
    Wired remote, wireless remote and in cab switch
    It all works well and looks neat and I don't have to worry about blowing up my winch


    If anyone has any suggestions on how to improve the system please post up
    enjoy
    cheers Hunty


    Luv My Jeep!

  8. #438
    Club Member Hunty's Avatar
    Join Date
    Apr 2009
    Location
    Wahroonga, Sydney
    Posts
    902

    Default How to reverse winch - bet with Wooders LoL

    I was challenged by a mate - to try and prove you can reverse winch without running the cable under your Jeep
    below is the video I made - enjoy
    cheers Hunty


    http://www.youtube.com/watch?v=_4tI3HtgdCY
    Luv My Jeep!

  9. #439
    Club Member Hunty's Avatar
    Join Date
    Apr 2009
    Location
    Wahroonga, Sydney
    Posts
    902

    Default New Rubicon Express rear springs and perches

    I noticed that my heap was running on bowing rear springs (Misaligned) caused by lifting the suspension with extended length springs by the moron who regularly drives it! (me)lol


    I am loaded to the MAX 40ltr extra fuel + 40ltr extra water roof top tent, cooking gear & fridge, tools hi lift jack, all my work equipment, my lightweight draws NOT !, spares clothes etc!!


    I suspected that the springs on full flex where bottoming out possibly worse - pinching and maybe damaging them - ( I need to add appropriate bump stops)


    I just recently picked up a huge Swag from TassieJK (Thanx again Mal) which included really nice rubicon express springs and Spring perch realignment brackets and adjustable rear track bar - all of which I installed today!


    I am the worlds biggest Idiot!!! - what was I thinking tackling this job in the carpark @ Rundle st Mall (whilst the Mrs shopped).


    1. whist Jeep is fully loaded and b4 jacking - attach spring compressors (it just makes it easier to compress them) and compress the cr@p out of them!


    2. Remove lower shock mount bolt.


    3. Jack up jeep remove tyre.


    4. Optional - remove trackbar - i did just to make access easier


    5. Remove already compressed spring.


    5. If you are smart ( I wasn't lol ) use angle grinder to remove factory perch - if you are a complete moron (yes thats me lol) piddle away at them with a useless hacksaw! for 6 hours - then be so totally buggeredx that driving back to camp is near impossible LoL


    6. bolt on new adjustable perches!


    7. re install springs - (in may case compress new springs first).


    8. put tyre back on


    9. drop jack slowly and check the springs have centred perfectly.


    10. re attach lower shocky mount bolt and re attach track bar


    Enjoy the feeling of your new jeep - and your handiwork or what ever LoL
    cheers Hunty


    Luv My Jeep!

  10. #440
    Club Member Hunty's Avatar
    Join Date
    Apr 2009
    Location
    Wahroonga, Sydney
    Posts
    902

    Default Mud!

    Went wheelin with the Sydney Jeep Club!
    and I'm still cleaning mud out of everything LoL - I even had to clean mud out of my wallet (and it was in my jeans back pocket) at the time of my Humungously stupid decision to follow steve into a big muddy bog hole with only my bar doors to shield me- LoL


    Good news - if anyone else is stupid enough to fill their JK with my mud.
    1. the carpets all come out very easily you just need to make a 1cm cut in the carpet close to the driver and passenger front outside seat bolt and you can get all the carpets out without having to remove the seats (unlike other 4x4's)
    2. There many floor drain holes just pop them out with a screw driver.
    don't forget to pop out the bung hole in the area at the back where the Jack is stored and then just hose it all out - oh yeah - if anybody wants to know how to fix a mud clogged seat belt - just PM me
    cheers Hunty


    Luv My Jeep!

Tags for this Thread

Bookmarks

Bookmarks

Posting Permissions

  • You may not post new threads
  • You may not post replies
  • You may not post attachments
  • You may not edit your posts
  •